The In-between


July 21, 2013     

Let's see, where was I? Ah yes, the second building. If you'll notice in the last picture from the previous post,  I had also laid down the flooring that connects the two buildings and runs in front of the kiln. The idea was to have it flush with the floor of the clay studio so that I could roll my ware cart right up to the kiln. I also wanted to build a wall in front of this space to help protect the kiln as well as block some of the noise produced by the burners when I'm firing.

So... Here it is:
      
     
    This is the shot as I was completing the "deck" that will be in front of the wall. I used the 
    stripper flooring for the area right in front of the kiln as this will be covered by the middle roof.
    In front of the wall, I constructed the pallet wood deck. 

 
   This is the deck completed. I sanded it a bit just to remove some of the burrs, but for the most 
    part it was pretty flush.


    This is the completed wall. I'm sorry I didn't have any shots of it in progress.


    I built it with a sliding pocket door so that it would give the illusion of a solid wall, and not take  
    up the  space a swinging door would.
 
   
     Here is the view looking from the glaze studio into the clay studio.
 
    
     We wanted to create another sitting space. We'll call this Cafe Toadlily.


     Stan and Molly enjoy a tasty beverage together at the end of a long day.


    Molly usually likes to hit it a little harder than Stan.


    Ciao!


The 2nd building


July 20, 2013
With the Monsoon season fast approaching, I had to start working on the second building before finishing the first one. My original target date for completion was July 1st. I've had to rethink that. I'm hoping for Mid -August now. (sigh)


Here is a shot of how my original "kiln pad" looked. This is the space to the right of the first building.

The first step was to tear down the  existing structure.

Then I had to scoot the kiln over so that I could open up the space to accommodate a larger building. Close your mouth, Barry. This part did not go smoothly...

 I then laid down the floor for the second building. It's approximately 9'x11. I used the same concrete filled cinder block supports like I did for the first building. There are also extra support boards to support the 2'x2' square flooring panels. I then put a layer of vapor barrier over that. 
 
 
I snapped some chalk lines to help guide where I was going to put the floor panels down.
 
Next came the floor panels. I put them unpainted side up this time, thinking I might like to put a clear varnish over them. I ended up using the same porch paint for both studios.


    Once the floor was finished, I started building the walls. This time, instead of using the pallets 
    as they come, I completely broke them down and then used the wood as I would normal wood. 
    I made sure that my measurements, that is the space between the studs, etc., matched 
    standard building codes. My hope is that this will make it easier to install the insulation and 
    drywall.
 
Here is a picture of the walls going up.


    And finally, a shot of the siding in place as well as the door. I also finished the space between 
    the two buildings, but I'll post more on that later.

Until then..

Interior workings

July 18, 2013
 
Hello.

This one will be short. I'm pretty beat. I work at the University all day and then come home in the evenings and work on this. I'm starting to burn out a bit and I've got a long way to go. I'll spare you the sob story because I know I'm extremely fortunate to be able to do this. Thank you, Jill!

 I've started finishing out the inside of the first building. The last shot was this, where I'd taped and mudded the walls. 


I sanded and painted them. I used a semi-glossy paint so that the would be easy to clean. To the lower right is the window I plan to install.


 A little base molding to finish it off. It's just some of the pallet slats I have. I plan to paint the floor with durable porch paint once I've finished all of the cabinetry and shelving. I want it to be easy to clean. 


This is the molding around the door. To the right is the opening for the spray booth I'll be building, but that's for another day.


These are some of the material bins that I'm building for my dry materials. They sort of rock out like a feed bin. They will hold the materials I use to mix my glazes.

This crooked shot is of the outside of the door going in. I gave it a nice brown to sort of blend in with the natural wood. Also, it was the most abundant leftover exterior paint I had in the garage.


That's it for now.


Glaze Studio Part II

July 4, 2013 

This is a view of the second level going up. Molly is making sure that the 2"x4" is level.


 This is the door framed up.


Here is the door in place. I seriously considered using pocket doors to conserve wall space, but the final design didn't allow for that. I'd also begun putting up the siding on the wall facing the back of our house. I wanted to get at least one side completed so it would stop looking like a 10 yr. old's fort and more like the building I had envisioned.

This is the view of the building you see from our back window. I added two horizontal hanging flower boxes to break up the vertical lines of the siding. Who would have guessed that flooring from a strip club would have so many uses?

The backside has the only window, which overlooks the garden bed. Under the tar paper are horizontal boards that I nailed the vertical siding boards to.
 
 
The roof is constructed of 3/4" plywood that was used as flooring in a now defunct bar. Yes, it was free as well. I extended it to cover the 5' easement between the building and the fence. This will be where I keep the propane tanks to fire the kiln.

 
On top of the plywood, I put a layer of the 3/4" strip club flooring. It was probably overkill, but sometimes the snow here piles up. The final covering is corrugated sheet metal roofing.


The wooden box sticking out of the side of the building is going to be my spray booth. I'll house the compressor outside underneath it in a sound proofed box.


I I insulated the inside with standard R-13 fiberglass.

The main problem I had with this was that I'd built the walls by stacking the pallets vertically on top of each other. I left the runners in place as they were built on the original pallet. Unfortunately, the spacing was narrower than the width of the fiber glass, so I had to do quite a bit of cutting. It really made this part a miserable job and I was very happy to be done with it.

I covered the inside with sheetrock as I plan to paint it. 
This is pretty much where I stopped. I wanted to get started on the second building. My plan is to work on that during the daylight hours and work on finishing the inside of this one in the evening hours as it doesn't make as much noise as when I'm constructing the building.

I'll post more tomorrow about the second building which is already underway.

One final thing: 

One of the pallets I received was an odd shape with little wood. I thought it would make a nice blind to hide our garbage cans. I backed it with landscape cloth and plywood behind that. The cloth really makes the flowers stand out.  Jill was very pleased.


Last summer I built a redwood pergola for Jill's hammock chair on the left. I also built a small pallet swing which is on the right. Yellow is her favorite color. We put up 4 slatted doors on the backside to create a privacy screen.


Here is a close up of the pallet swing.


That's all for now....
Happy Independence Day!


Glaze Studio: The Beginning

July 2, 2013
This blog will feature the highlights, trials and tribulations from my latest project: building my studio. For years, I've been working out of my garage. While it's been nice to have the creature comforts close at hand, it has also created an overabundance of dust and other toxic and nusance materials floating in the air and settling on the floor (and pets) of our home.

We recently decided to commit the last open space in the back yard to building my studio. Besides getting it away from the house, it also has the benefit of being much closer to my kilns. This will mean less breakage as well.

I didn't have much in the way of financial resources when I conceived of this, so I sought out alternative building materials. The first thing that came to mind was to use pallet wood. it's free, it's strong, and generally very available, if you find the right source.


This is a typical load on my Toyota Tacoma. I could usually stack about 23 pallets plus misc. wood . I was able to scrounge multiple and varied pallet types from local businesses. However, this piecemeal approach to collecting was proving to be too time consuming. The Big Box stores don't give away much of anything, let alone pallets. However, through word of mouth, I found a source in a local company. The beauty of this is that they are once used, solid oak pallets. It's really absolutely beautiful wood. What with all of the dwindling forests around the world, it truly breaks my heart to think that most of the time, this wood is simply trashed.


This is how the back patio looked for much of the time... Fortunately, Jill was on vacation for the worst of it. 


My first design was to construct one building that was 120 sq ft., so as to avoid having to purchase a building permit. But as I began to examine the space, it occurred to me that making two smaller buildings, with the kiln in between them, would not only allow me to create more than 120 sq. ft. of useable space, it would also allow me to create two dedicated work spaces... one for creating and one for glazing. In the past, space constraints forced me to have to use the same space for both endevours. This required me to stop making and clean up so that I could glaze, only to have to put the glazes away and reset the space for making again. With the two building concept, I am excited that I can have ongoing projects in both studios simultaneously.


And so it begins...

The first order of business was to ready the space for the first building, the glaze studio. Previously, we had two 4x8 garden boxes. This was taken last summer, long before I'd decided to build the studio. You can just make out part of my kiln to the right. I'll show you more of that later.

I needed to consolidate those into one. This also provided me with an opportunity to explore the surface I was planning to use on the studio buildings.


This was the new garden box. I made it higher so Jill wouldn't have to bend over as much. I also made it larger so there would be more space for plants. Jill wanted me to add a wider edge on two sides that could serve as alternate seating when we have parties.
Yeah, I know... it looks a lot like a California hot tub from the 70's. Some aesthetics die hard.


For the finish, I simply hosed the dirt off of the pallet wood, let it dry and then coated it with boiled linseed oil to seal it. I used a garden sprayer for this and it worked fine. I did thin it a tiny bit with mineral spirits, but it still seemed to coat the wood well. I was very pleased with how the oil brought out all of the subtle nuances of the different wood grains.

By the way, that beautiful stack of wood in the background is what's left of the full cord of Shaggy Juniper that Jill got me for Christmas. I have a nice fire pit that I like to stoke up quite frequently. I did a lot of this during the winter while I was planning for this project.

The next step was to put down the footprint and flooring for the first building.

While I committed to using primarily pallet wood, I also used other sources as well. I was fortunate enough to score over 400 sq. ft. of 3/4 inch cabinet grade oak plywood from a storage unit auction. It was all cut in 2'x2' squares and varnished on one side. Apparently it used to be the dance floor from an old strip club. That's right, the floor of my new studio is the dance floor from a strip club. It takes "Ghost" to a whole new level.


I also scored an aluminum covered table that I plan to use in my glaze studio. "So.,.", you may be asking yourself, "What did you pay for all of these treasures? " Nothing. They were absolutely free. I just happened to be at the right place at the right time and they wanted it all cleaned out. It was quite the find.


This is how I went about breaking down the pallets. My new best friend was a Ryobi recirculating saw that I bought off the shelf for $50.


I laid down a basic 2x4 frame on cinder blocks filled with concrete. I drove rebar into the ground in the cinder block hole before pouring the concrete. This helped stabilize the foundation.  I covered the framework with a tarpaper moisture barrier. I also used a bit of construction adhesive to minimize squeaking and shifting of the panels. I laid them out in a parquet pattern to try and highlight the grain of the wood. I'm afraid this effect has been lost with the heavy coating of varnish. The floor plan of the glaze studio was approximately 6' x 8' with a notch cut out to accomodate our pine tree. The kiln is in the background.

 
Here is the completed floor.

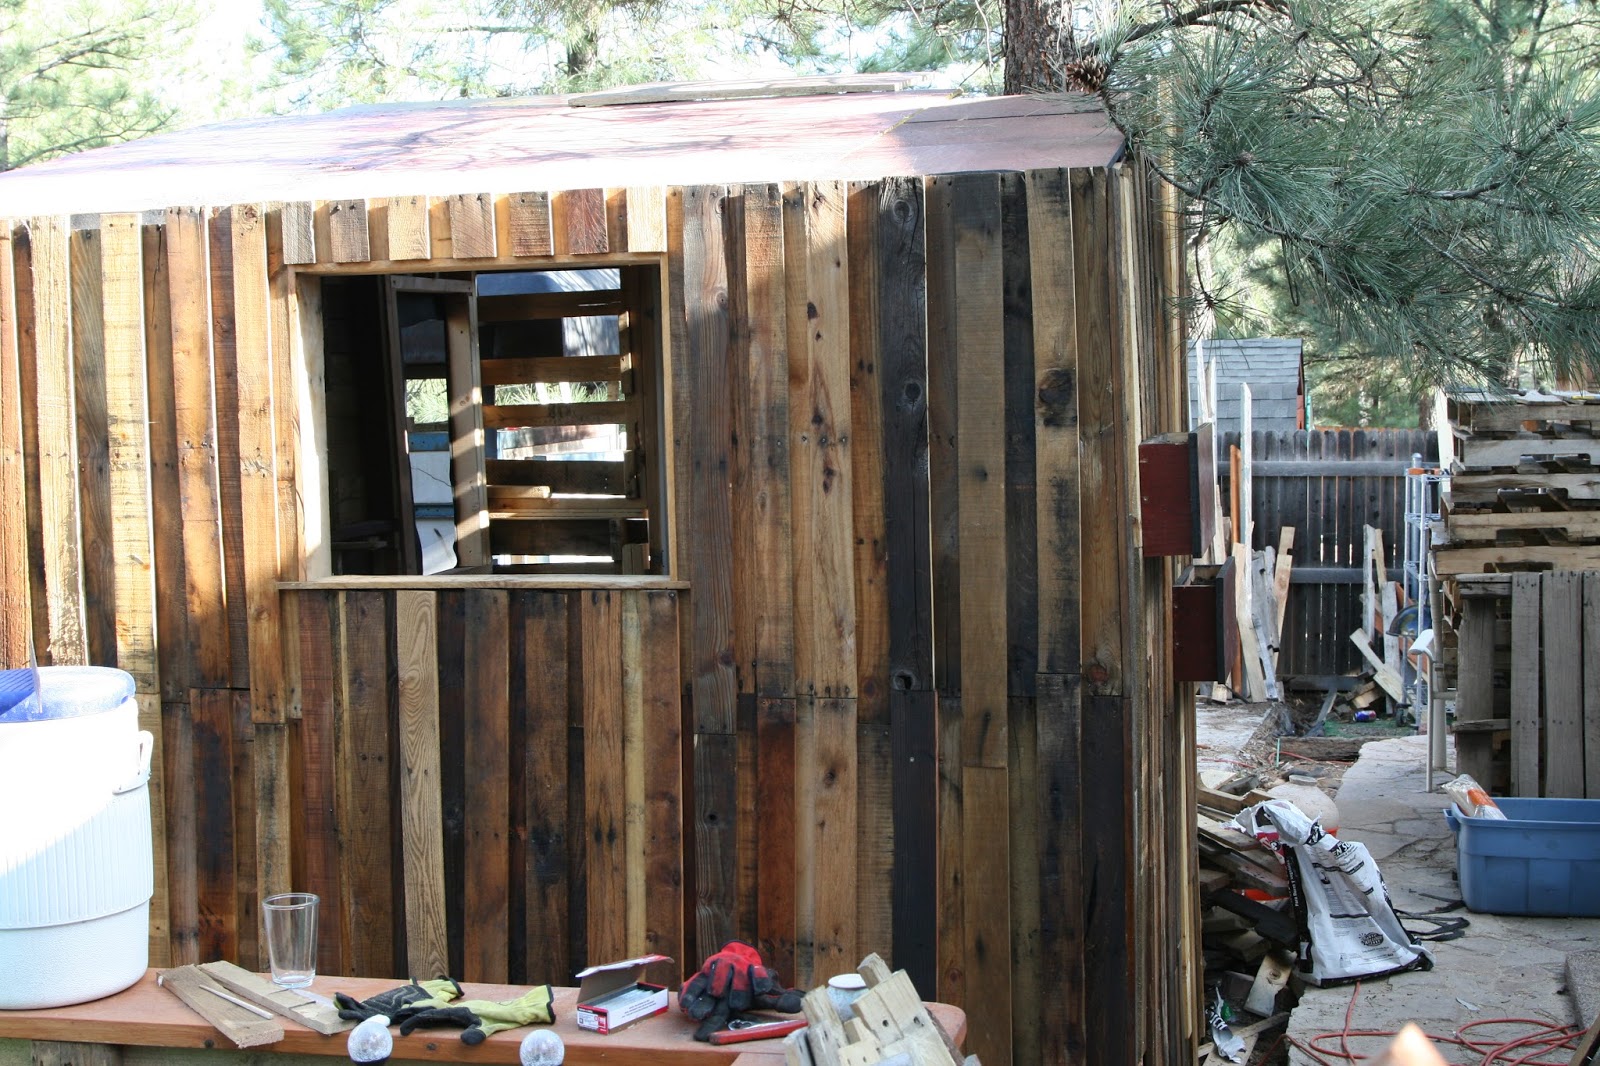
For the first building, I pretty much maintained the structure of the pallets and just screwed them down to the floor. I'd done this previously on a small storage building, but that was un-insulated. I'll talk more about that later and why I changed building tactics with the second building.

Here is another view. I basically set up the first layer and then leveled it off with a 2"x4" before adding the second layer.

 
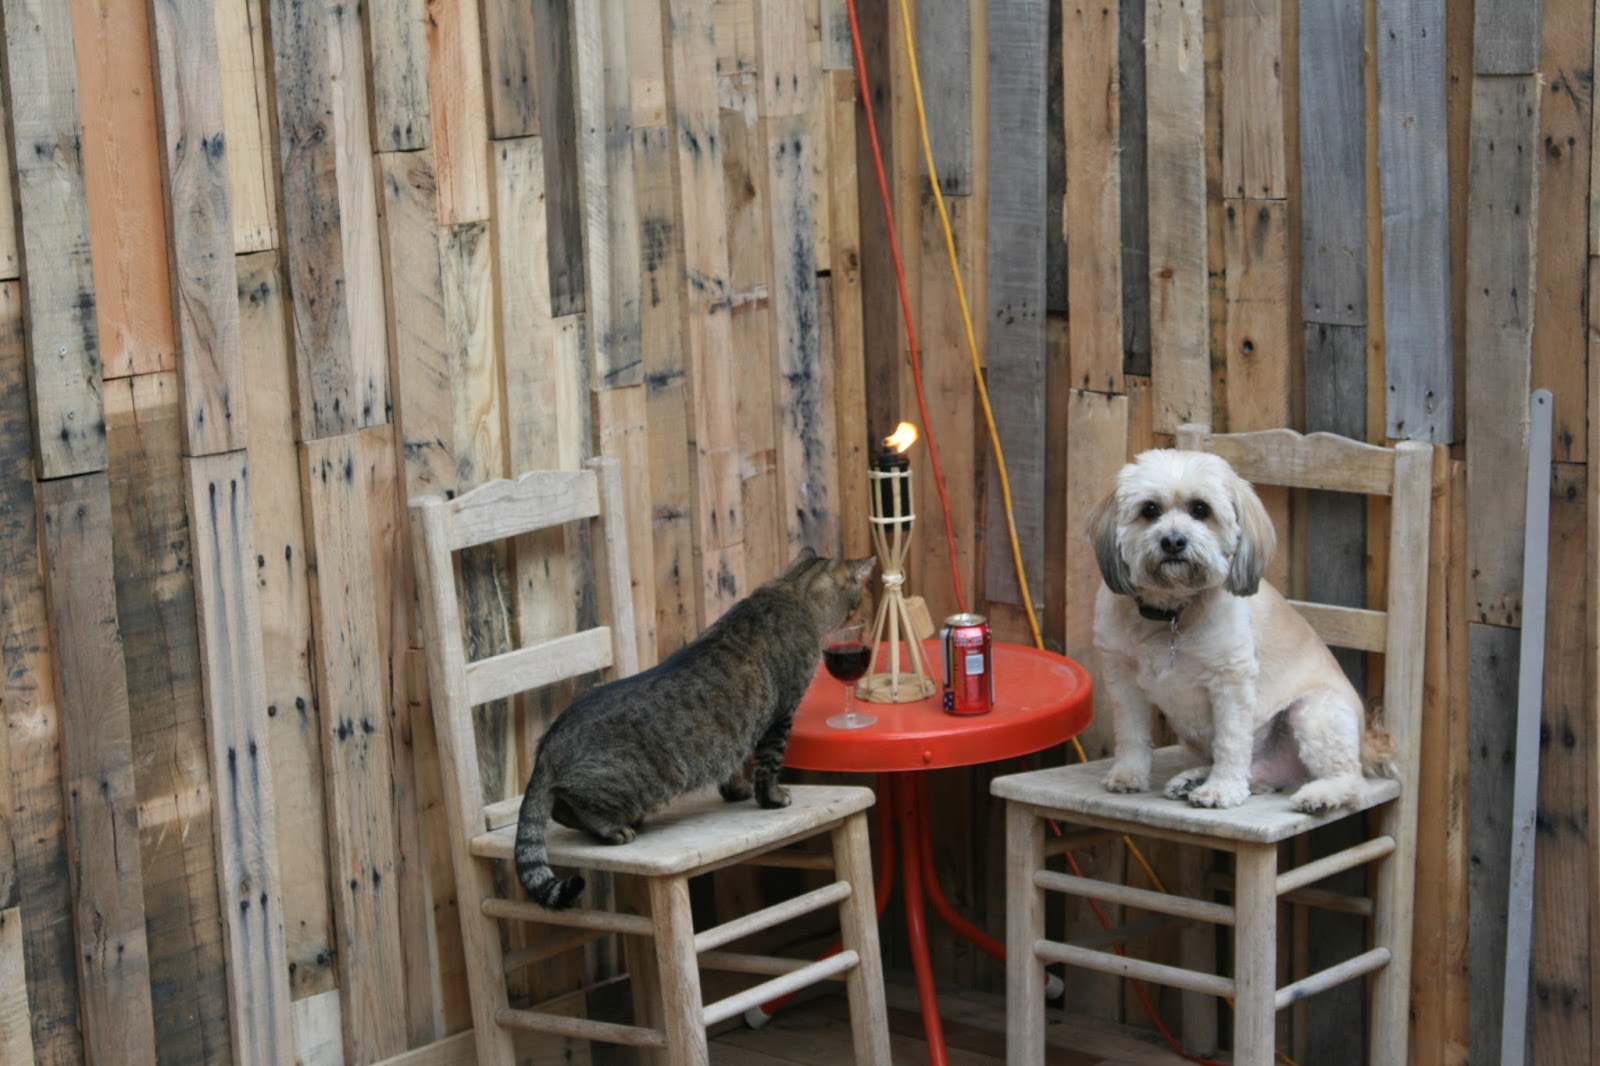
Stan kept a watchful eye as I worked. He was my safety officer and made me adhere to all of the current safety standards. He's wise beyond his years.

Molly was second in command, but knew best to stay safely under one of our metal chairs, in the likely event of a collapse.


To be Continued...