Inter mission

 August 15th, 2013

Well, there's been a bit of a setback. It was bound to happen, though I really wish it hadn't.

Picture this: It was a beautiful, perfect day, not a cloud in the sky. There was no wind and Pandora was finally not playing Pootie and the Stinkfish every other song. I'd taken the day off from work, partly because it was my birthday, and mainly because I wanted to work on the studio.

I was using the table saw to make some window frames. For those of you who aren't familiar with this tool, lets just say it's the great white shark of power tools.

Don't let it's unimposing stature fool you. This little fella chews a mean cut. Oh, and that safety guard sitting on top... yeah, it wasn't in place. It's hard to see the cut with it on. That's my story and... well, you know the rest. 

I'd cut my right thumb back in my early 20's so I was paying special attention to that hand as it's the one that feeds the wood towards the blade.

Bam!

I actually heard the sound change in the motor  before I'd felt the hard tug on my left index finger. It sounded a little like when I hit a nail in the wood, except without the sparks. My autonomic instincts pulled my hand away before too much damage was done...or so I thought.

I knew it was going to be bad. Pretty much any table saw accident is. So, without looking at it, I grabbed a nearby rag, wrapped it around my finger, turned the machine off and went in to ask Jill to take me to the ER. She thought I was kidding. I guess I've cried wolf one too many times. It didn't take long for her to see I was serious, and off we went.

It didn't really hurt as it was mostly numb. What hurt more was my pride as it was a really stupid mistake.
I might have been in slight shock because things kept shaking without my trying, but for the most part, the drive there, while slowed tremendously by an unbelievable amount of traffic, was uneventful.

I was at the ER for about 5 1/2 hours. There was no stitching to be done as the 1/8" blade kerf chewed more than it cut.

Here is a picture of the X-ray


I realize this isn't the best image. That faint part at the top is a residual image of the huge bandage necessary to soak up the blood. I promise, it's not a bunch of loosely hanging flesh. I was told that what the x-ray  showed was that the blade nicked the bone. The good news was that the feeling on the rest of the pad of my finger was all intact, indicating minimal nerve damage so chances were good I'd recover well. There might be numbness on the tip from the eventual scar tissue.

The next day a trip to the plastic surgeon had a much better prognosis. He said that the bone chip was really about the size of a speck of dust. The nail bed would rebuild itself as well as the tip, and within in a year, I should be back to feeling normal.

He showed me how to clean and bandage it so that I could more easily type.

I took a picture of it last night after I'd let it soak in a peroxide water mix. I'll give you that link if you feel the need to see it in full color, but I don't think I'll post the image here.

Anyway, since then, I've gotten back to work and have even used the table saw without incident. I'll post some updates in a day or two.

For those of you with intestinal fortitude, here's the link to the graphic picture. Don't say I didn't warn you:
http://pinterest.com/pin/500462577312355304/ 

Until later,
Ow... I mean ciao

Take Cover!

August 7th, 2013


We've been having a pretty serious monsoon season here. Lots of rain. I had to move quickly and try to cover the final section, the middle. That way I can clear out the second building and start finishing it out.


I've run out of time as I need to get this completed before the end of summer. So I decided to build the middle with regular wood from the big box store. It saved lots of time plus it's straighter than pallet wood. I'll probably still face everything with pallet wood to make it match, but for now, the sub-structure is regular wood.


Here, I'm starting to lay down the corrugated metal roofing on the framework. I'm hoping to reclaim the water for other uses which is why I chose to go with a metal roof. It's much more expensive, but I think it will serve me better in the long run.


Over the top of the kiln, I used metal runners from an old shed we had. That way, if it gets too warm, it won't catch on fire!


This is the rest of the roofing in place over the kiln. All in all, there were only two small leaks due to my poor aim with the drill. Easily fixed with waterproof caulk.


I created the front fascia with pallet wood so it would match the other two buildings. The middle roof also overlaps the other two buildings so the water sheds down the sides.


Oddly enough, many pallets came "branded" with a name or location or some other cryptic lettering/numbers. I decided early on to set these pieces aside to highlight them later. They now adorn the part of the roof that protects Toadlily Cafe.

I have to admit that there was a lot of fortuitous serendipity with regard to the brands. For instance, here are the numbers to Jill's gallery, Gallery 113.


These are the month and day for my birthday!


And finally, what better justification that I'm on the right track with all of this... This was truly an authentic brand. I had no idea.


If you have any questions about all of this, I'd be happy to share what I've learned.
Thanks for reading!

Pallet Side Chat #1

August 5th, 2013

When I first conceived of this blog, I thought it would primarily be a picture blog. Personally, I tend to enjoy those more, especially when it comes to technical information. However, I've come to realize that there has been some information that is not transmittable via pictures.  Our friend, Tyge, who had an excellent blog, once told me "Take notes and post them later.".

Unfortunately, I've not taken any notes, but I do recall some important insights that I'd like to share. I've also recently been listening to Ken Burns "The War" documentary about World War II.  I mean no disrespect in doing this, but I'd like to call my posts of random thoughts... Pallet  Side Chat.

So, Pallet Side Chat #1 will be a list of insights I've had through all of this. Hopefully, you won't read them with the voice of Jack Handy in mind.
 
1. A reciprocating saw (think Sawzall) became my very best friend in all of this. The Diablo flush cut blade proved to be the best for separating pallet wood into useful pieces of lumber.

2. Beware that if you do the above, it only cuts the nails, so most of the nail head remains. Aesthetically, this works for the overall construction, however it doesn't take too many of these unnoticed pieces of iron to dull an expensive table or chop saw blade.

3. Some of the wood I cut actually smelled like hot buttered popcorn. Not the cheap home version, but the really tasty theater kind. Go figure.

4. This probably goes without saying and should probably be #1, wear safety glasses, or better yet, safety glasses and a clear face shield when you use the table or skill saw. You only have one pair of  eyes.

5. If you plan to build with pallets, you need to have the space to store them while you build. We don't have much yard, so juggling where to put the pallets until I needed them was an added challenge.

6. Just like when traveling in a foreign country, when it comes to acquiring free pallets, you can't say 'Thank you" too much.

7. Linseed oil makes a great sealer for the wood. You don't need the expensive wood sealing "products".  I used a standard garden sprayer which is far better than brushing it on. I recommend you thin it down a bit so it will spray better and make the oil go farther. 1 part mineral spirits to 3 parts oil worked for me, but I think you could use as much as 50/50 and get good coverage. You have to wait until the rainy season has passed before doing this. Also, rinse the wood first and let it dry overnight before oiling. Pallet wood has a lot of residual dirt on it, believe it or not.

8. As you'll see from my pictures, I love Tiki torches and firepits. However, linseed oil soaked wood is highly flammable. Please be careful.

Until later....

The In-between


July 21, 2013     

Let's see, where was I? Ah yes, the second building. If you'll notice in the last picture from the previous post,  I had also laid down the flooring that connects the two buildings and runs in front of the kiln. The idea was to have it flush with the floor of the clay studio so that I could roll my ware cart right up to the kiln. I also wanted to build a wall in front of this space to help protect the kiln as well as block some of the noise produced by the burners when I'm firing.

So... Here it is:
      
     
    This is the shot as I was completing the "deck" that will be in front of the wall. I used the 
    stripper flooring for the area right in front of the kiln as this will be covered by the middle roof.
    In front of the wall, I constructed the pallet wood deck. 

 
   This is the deck completed. I sanded it a bit just to remove some of the burrs, but for the most 
    part it was pretty flush.


    This is the completed wall. I'm sorry I didn't have any shots of it in progress.


    I built it with a sliding pocket door so that it would give the illusion of a solid wall, and not take  
    up the  space a swinging door would.
 
   
     Here is the view looking from the glaze studio into the clay studio.
 
    
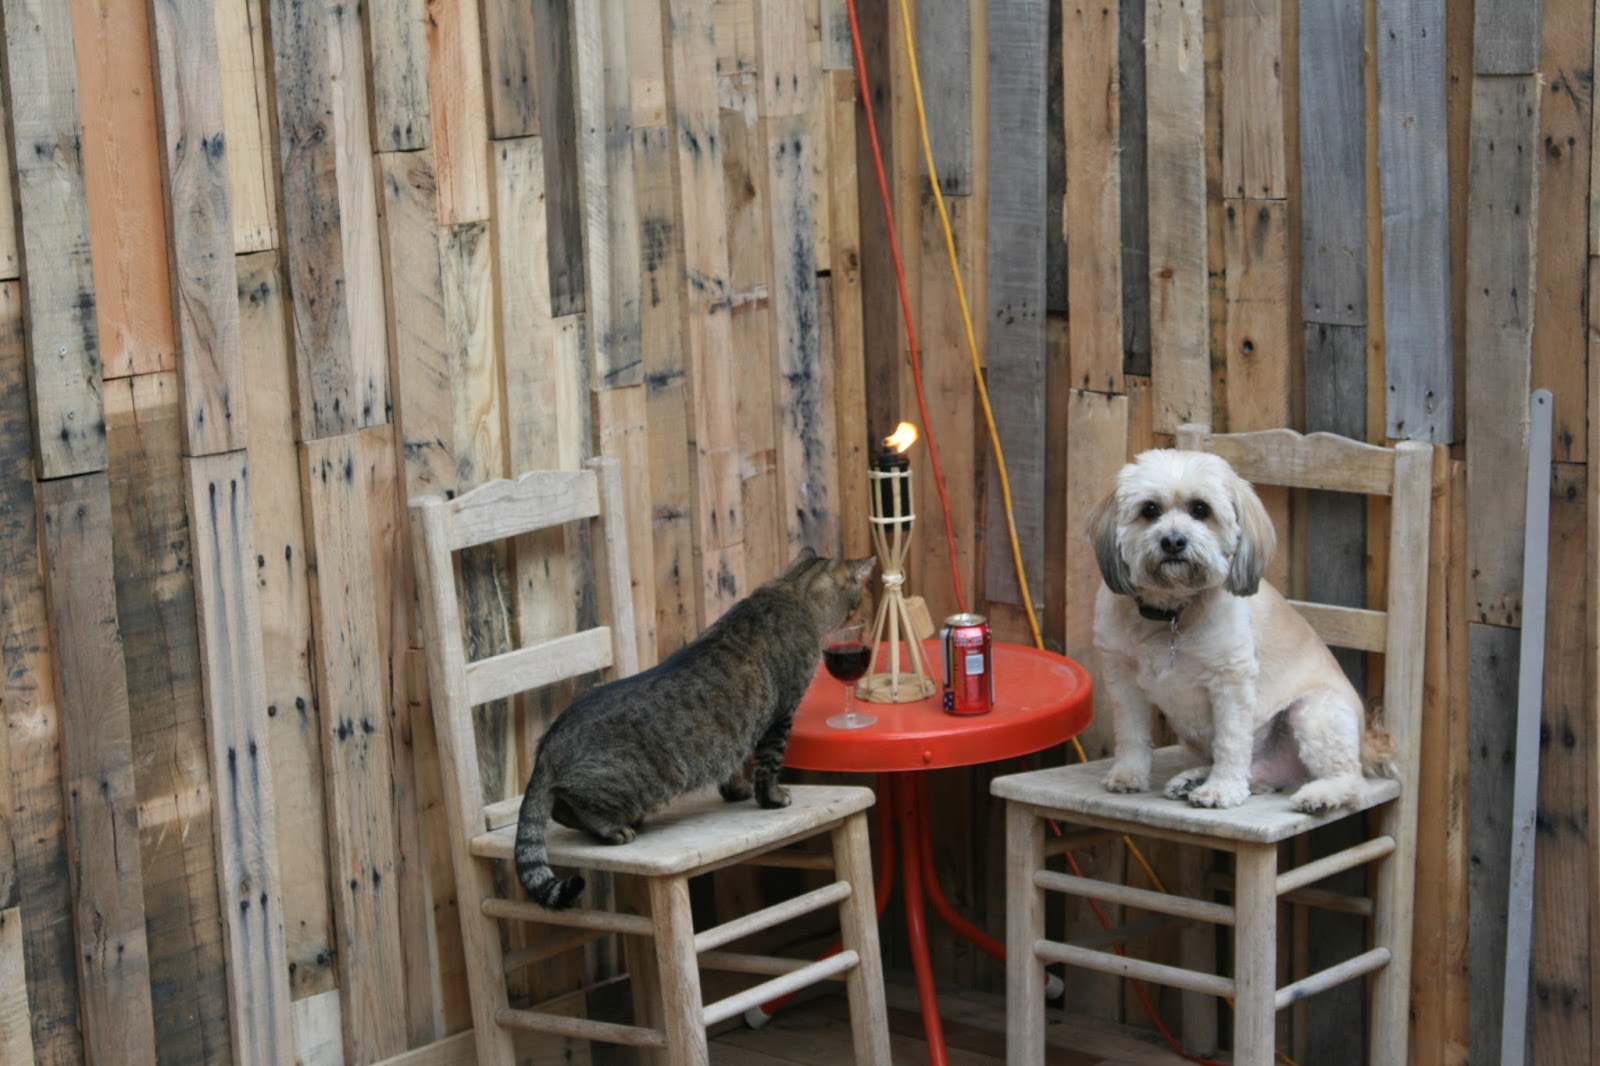
     We wanted to create another sitting space. We'll call this Cafe Toadlily.


     Stan and Molly enjoy a tasty beverage together at the end of a long day.


    Molly usually likes to hit it a little harder than Stan.


    Ciao!


The 2nd building


July 20, 2013
With the Monsoon season fast approaching, I had to start working on the second building before finishing the first one. My original target date for completion was July 1st. I've had to rethink that. I'm hoping for Mid -August now. (sigh)


Here is a shot of how my original "kiln pad" looked. This is the space to the right of the first building.

The first step was to tear down the  existing structure.

Then I had to scoot the kiln over so that I could open up the space to accommodate a larger building. Close your mouth, Barry. This part did not go smoothly...

 I then laid down the floor for the second building. It's approximately 9'x11. I used the same concrete filled cinder block supports like I did for the first building. There are also extra support boards to support the 2'x2' square flooring panels. I then put a layer of vapor barrier over that. 
 
 
I snapped some chalk lines to help guide where I was going to put the floor panels down.
 
Next came the floor panels. I put them unpainted side up this time, thinking I might like to put a clear varnish over them. I ended up using the same porch paint for both studios.


    Once the floor was finished, I started building the walls. This time, instead of using the pallets 
    as they come, I completely broke them down and then used the wood as I would normal wood. 
    I made sure that my measurements, that is the space between the studs, etc., matched 
    standard building codes. My hope is that this will make it easier to install the insulation and 
    drywall.
 
Here is a picture of the walls going up.


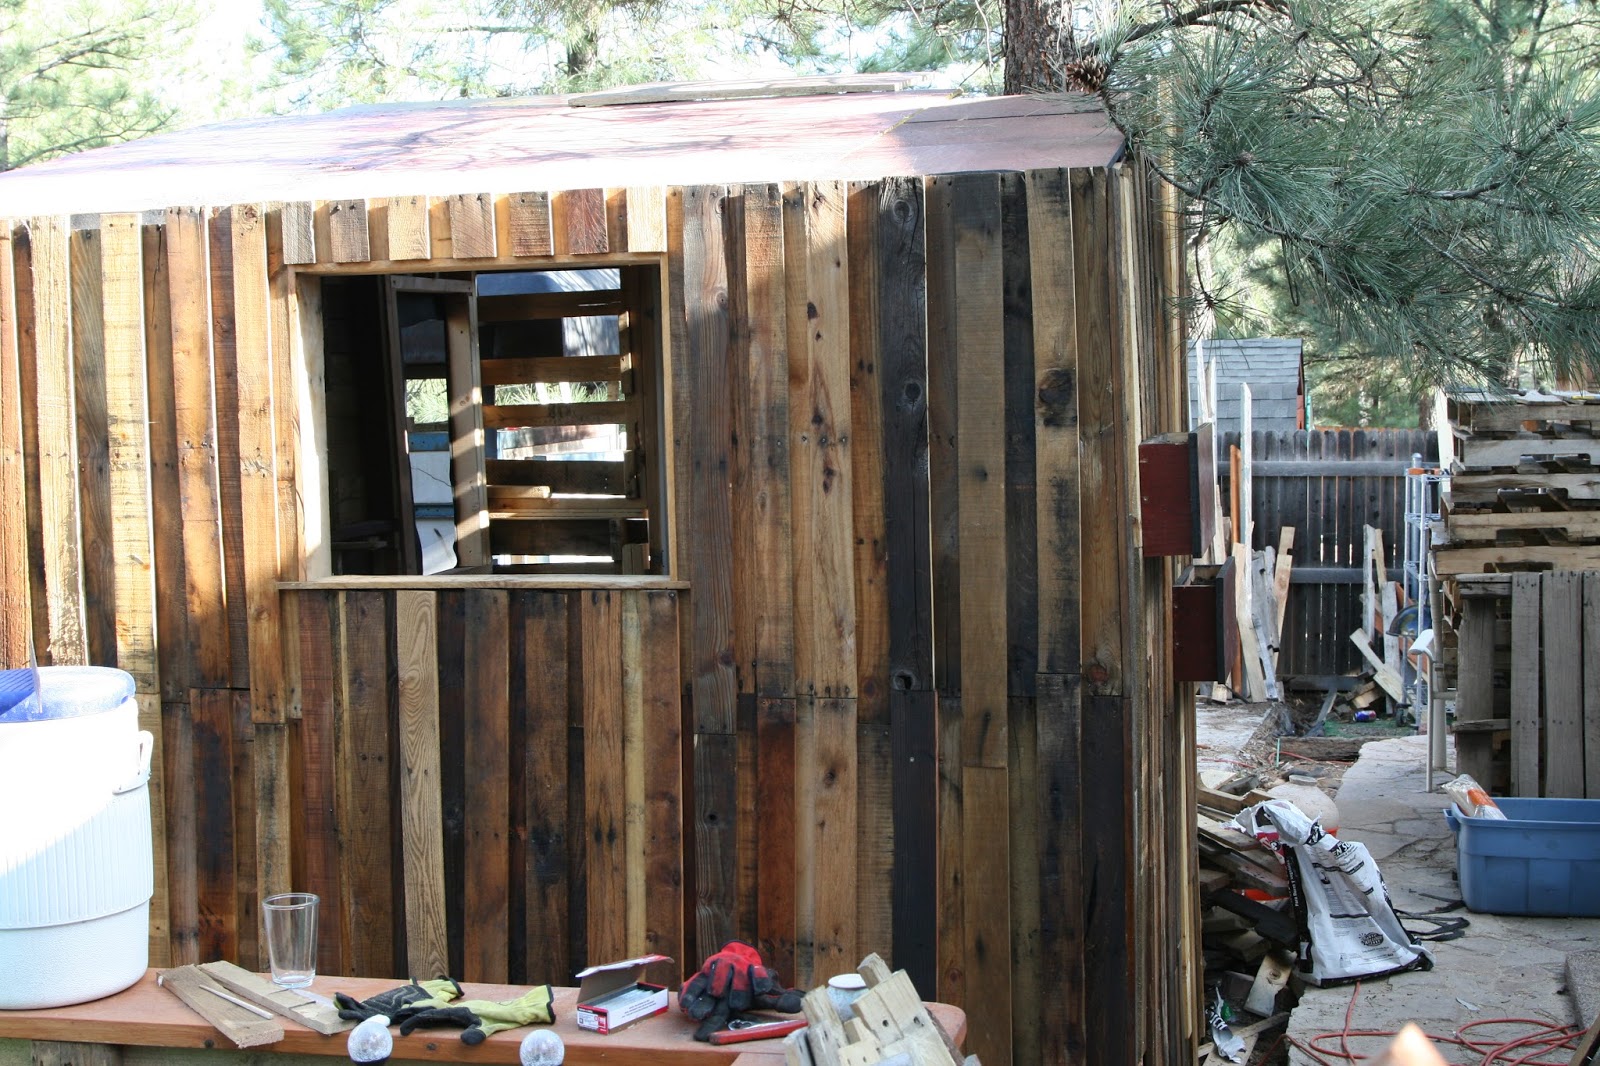
    And finally, a shot of the siding in place as well as the door. I also finished the space between 
    the two buildings, but I'll post more on that later.

Until then..

Interior workings

July 18, 2013
 
Hello.

This one will be short. I'm pretty beat. I work at the University all day and then come home in the evenings and work on this. I'm starting to burn out a bit and I've got a long way to go. I'll spare you the sob story because I know I'm extremely fortunate to be able to do this. Thank you, Jill!

 I've started finishing out the inside of the first building. The last shot was this, where I'd taped and mudded the walls. 


I sanded and painted them. I used a semi-glossy paint so that the would be easy to clean. To the lower right is the window I plan to install.


 A little base molding to finish it off. It's just some of the pallet slats I have. I plan to paint the floor with durable porch paint once I've finished all of the cabinetry and shelving. I want it to be easy to clean. 


This is the molding around the door. To the right is the opening for the spray booth I'll be building, but that's for another day.


These are some of the material bins that I'm building for my dry materials. They sort of rock out like a feed bin. They will hold the materials I use to mix my glazes.

This crooked shot is of the outside of the door going in. I gave it a nice brown to sort of blend in with the natural wood. Also, it was the most abundant leftover exterior paint I had in the garage.


That's it for now.


Glaze Studio Part II

July 4, 2013 

This is a view of the second level going up. Molly is making sure that the 2"x4" is level.


 This is the door framed up.


Here is the door in place. I seriously considered using pocket doors to conserve wall space, but the final design didn't allow for that. I'd also begun putting up the siding on the wall facing the back of our house. I wanted to get at least one side completed so it would stop looking like a 10 yr. old's fort and more like the building I had envisioned.

This is the view of the building you see from our back window. I added two horizontal hanging flower boxes to break up the vertical lines of the siding. Who would have guessed that flooring from a strip club would have so many uses?

The backside has the only window, which overlooks the garden bed. Under the tar paper are horizontal boards that I nailed the vertical siding boards to.
 
 
The roof is constructed of 3/4" plywood that was used as flooring in a now defunct bar. Yes, it was free as well. I extended it to cover the 5' easement between the building and the fence. This will be where I keep the propane tanks to fire the kiln.

 
On top of the plywood, I put a layer of the 3/4" strip club flooring. It was probably overkill, but sometimes the snow here piles up. The final covering is corrugated sheet metal roofing.


The wooden box sticking out of the side of the building is going to be my spray booth. I'll house the compressor outside underneath it in a sound proofed box.


I I insulated the inside with standard R-13 fiberglass.

The main problem I had with this was that I'd built the walls by stacking the pallets vertically on top of each other. I left the runners in place as they were built on the original pallet. Unfortunately, the spacing was narrower than the width of the fiber glass, so I had to do quite a bit of cutting. It really made this part a miserable job and I was very happy to be done with it.

I covered the inside with sheetrock as I plan to paint it. 
This is pretty much where I stopped. I wanted to get started on the second building. My plan is to work on that during the daylight hours and work on finishing the inside of this one in the evening hours as it doesn't make as much noise as when I'm constructing the building.

I'll post more tomorrow about the second building which is already underway.

One final thing: 

One of the pallets I received was an odd shape with little wood. I thought it would make a nice blind to hide our garbage cans. I backed it with landscape cloth and plywood behind that. The cloth really makes the flowers stand out.  Jill was very pleased.


Last summer I built a redwood pergola for Jill's hammock chair on the left. I also built a small pallet swing which is on the right. Yellow is her favorite color. We put up 4 slatted doors on the backside to create a privacy screen.


Here is a close up of the pallet swing.


That's all for now....
Happy Independence Day!